Shop our BULK BEEF NOW!🐮 🥩 🍔

How to Make Your Own Biltong At Home

written by

Paul Brown

posted on

August 29, 2024

What you'll need:

  • 3-5 lbs of raw meat- either Arm Roast or Brisket.
  • 1 g spice mix per 100g meat
  • 1 cup vinegar per 100g meat 
  • 1 large cardboard box
  • 2 dowels 

The first step- make your box! 

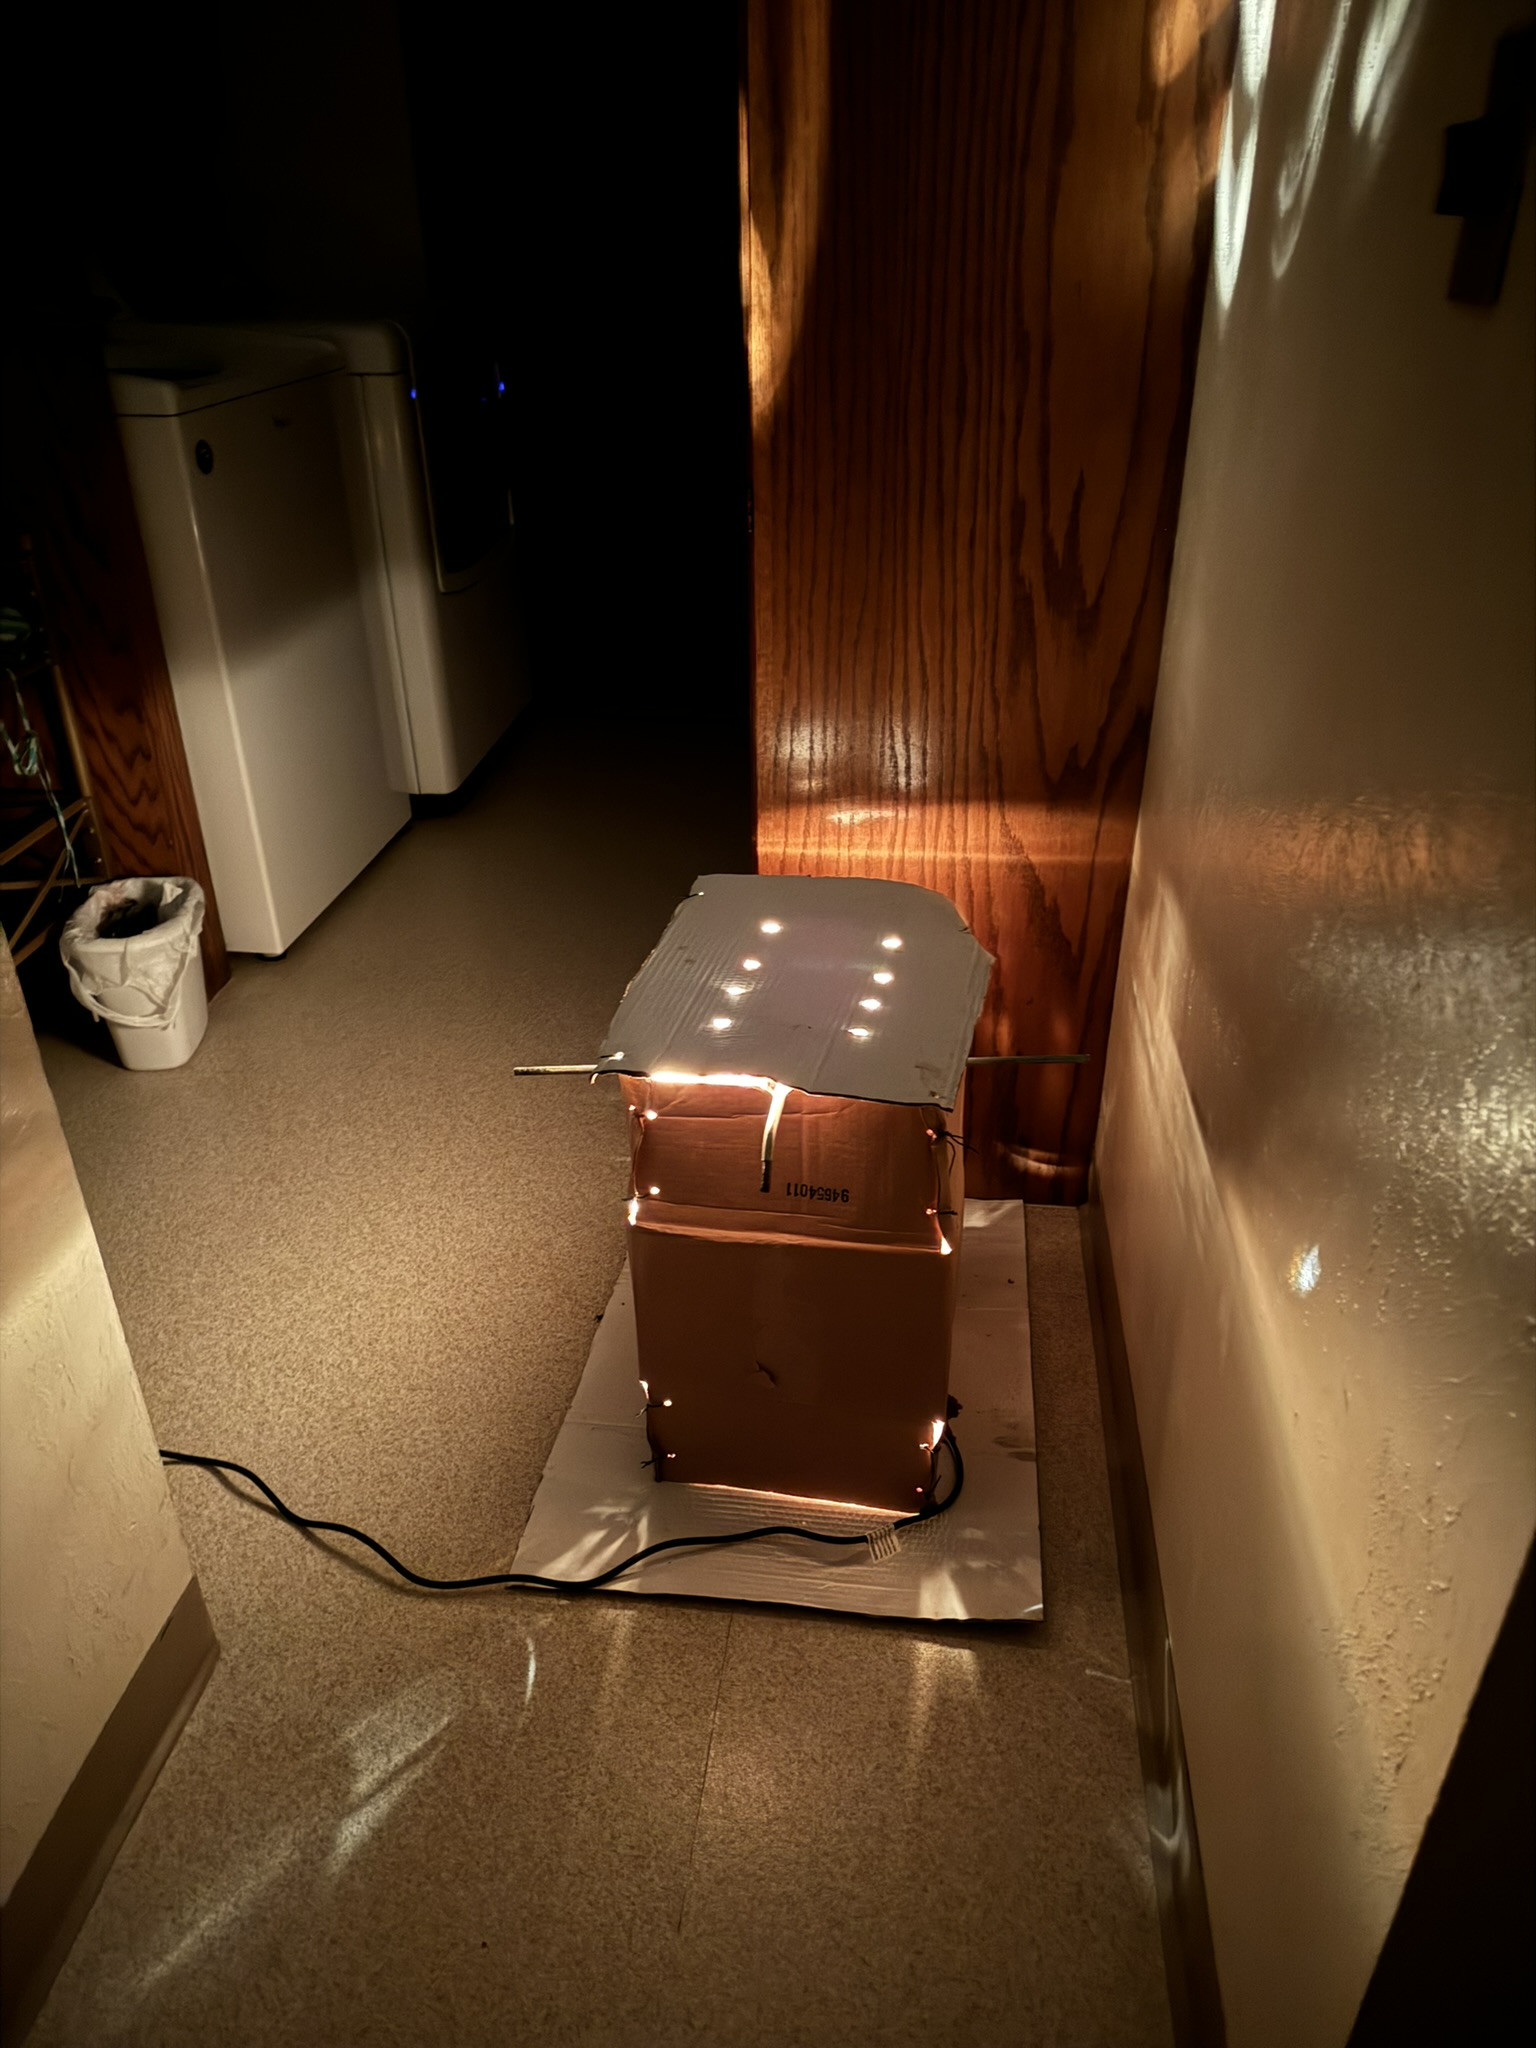
It just needs to be tall enough to hang the meat slices without them touching the bottom and wide enough to hang the meat without them touching each other or the sides of the box. 

You’ll need to punch holes in the bottom and top of the box to allow hot air to flow from bottom to top. 

Step 2: find dowels to hang the meat on. 
Step 3: find a light bulb (we used a heat lamp) with a cord that you can set on the bottom of the box facing up. 
Step 4: find a fan you can face towards your box for air flow. 
Now you’re ready to start slicing! 
Step 5: Thaw out the piece of meat you’d like to use- we used an inner round roast here but you can also use a Brisket Flat, round roast, or arm roast. 

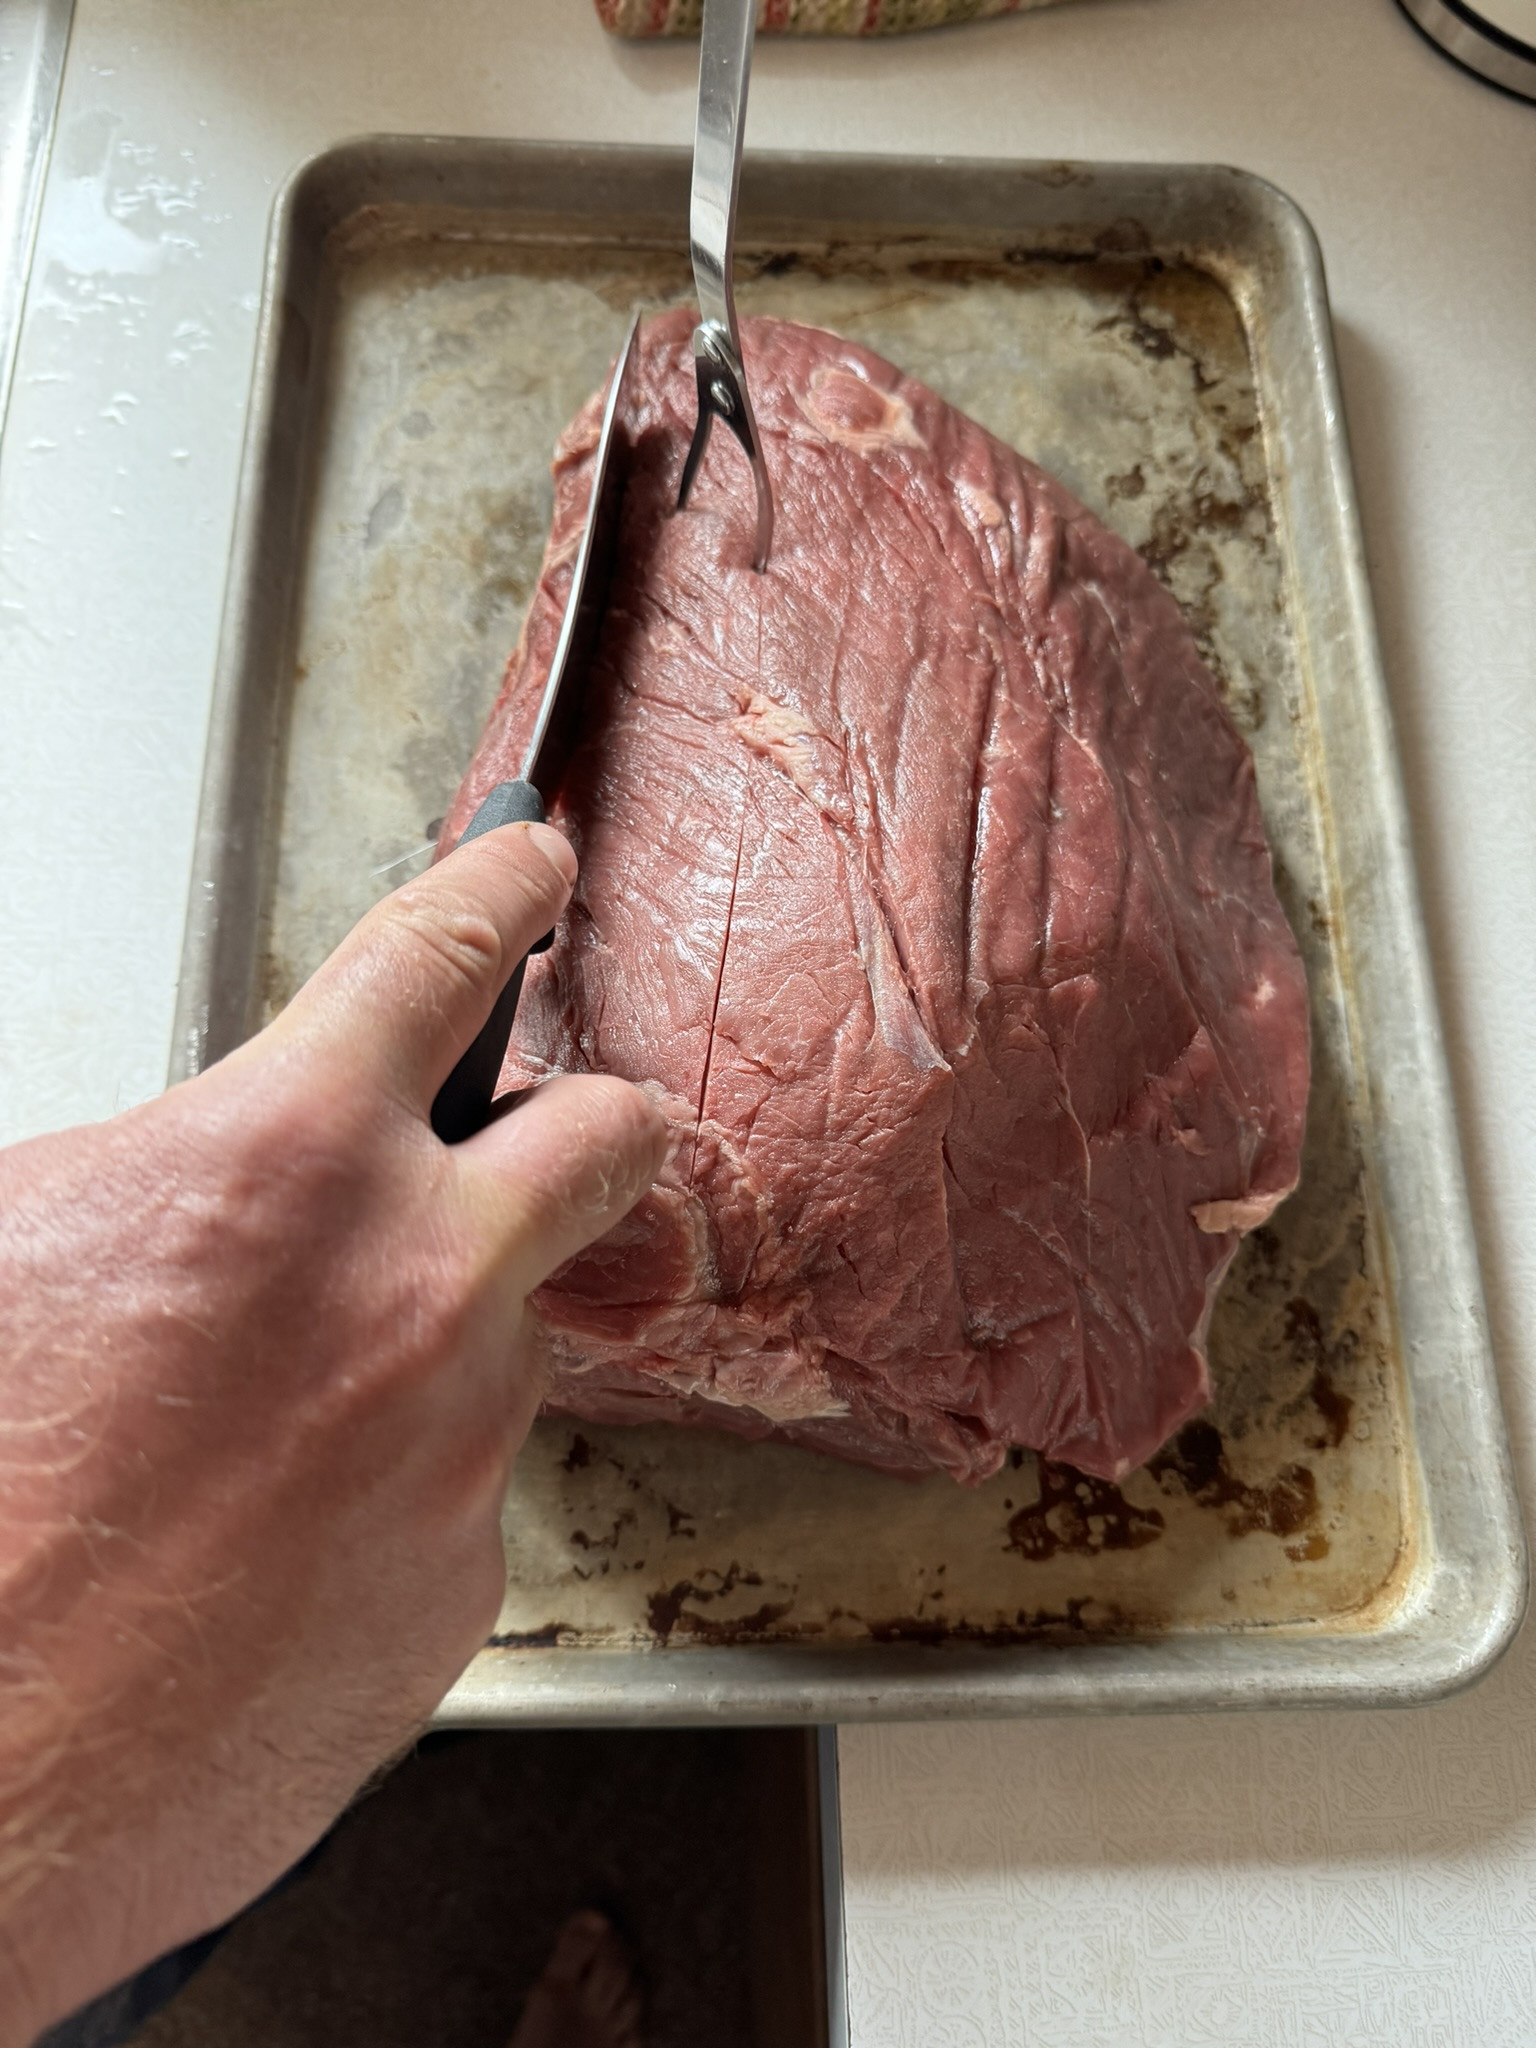
Slice the meat into long strips .5 inch thick with the grain. It’s important that you slice it with the grain.
76E3A161-8B39-400E-85B8-E7F30A319865_1_102_o.jpeg

Once you’re done slicing, fill a 9 x 13 in pan with vinegar. (Traditionally, they use brown vinegar but we couldn’t find that here so we used regular white vinegar). 

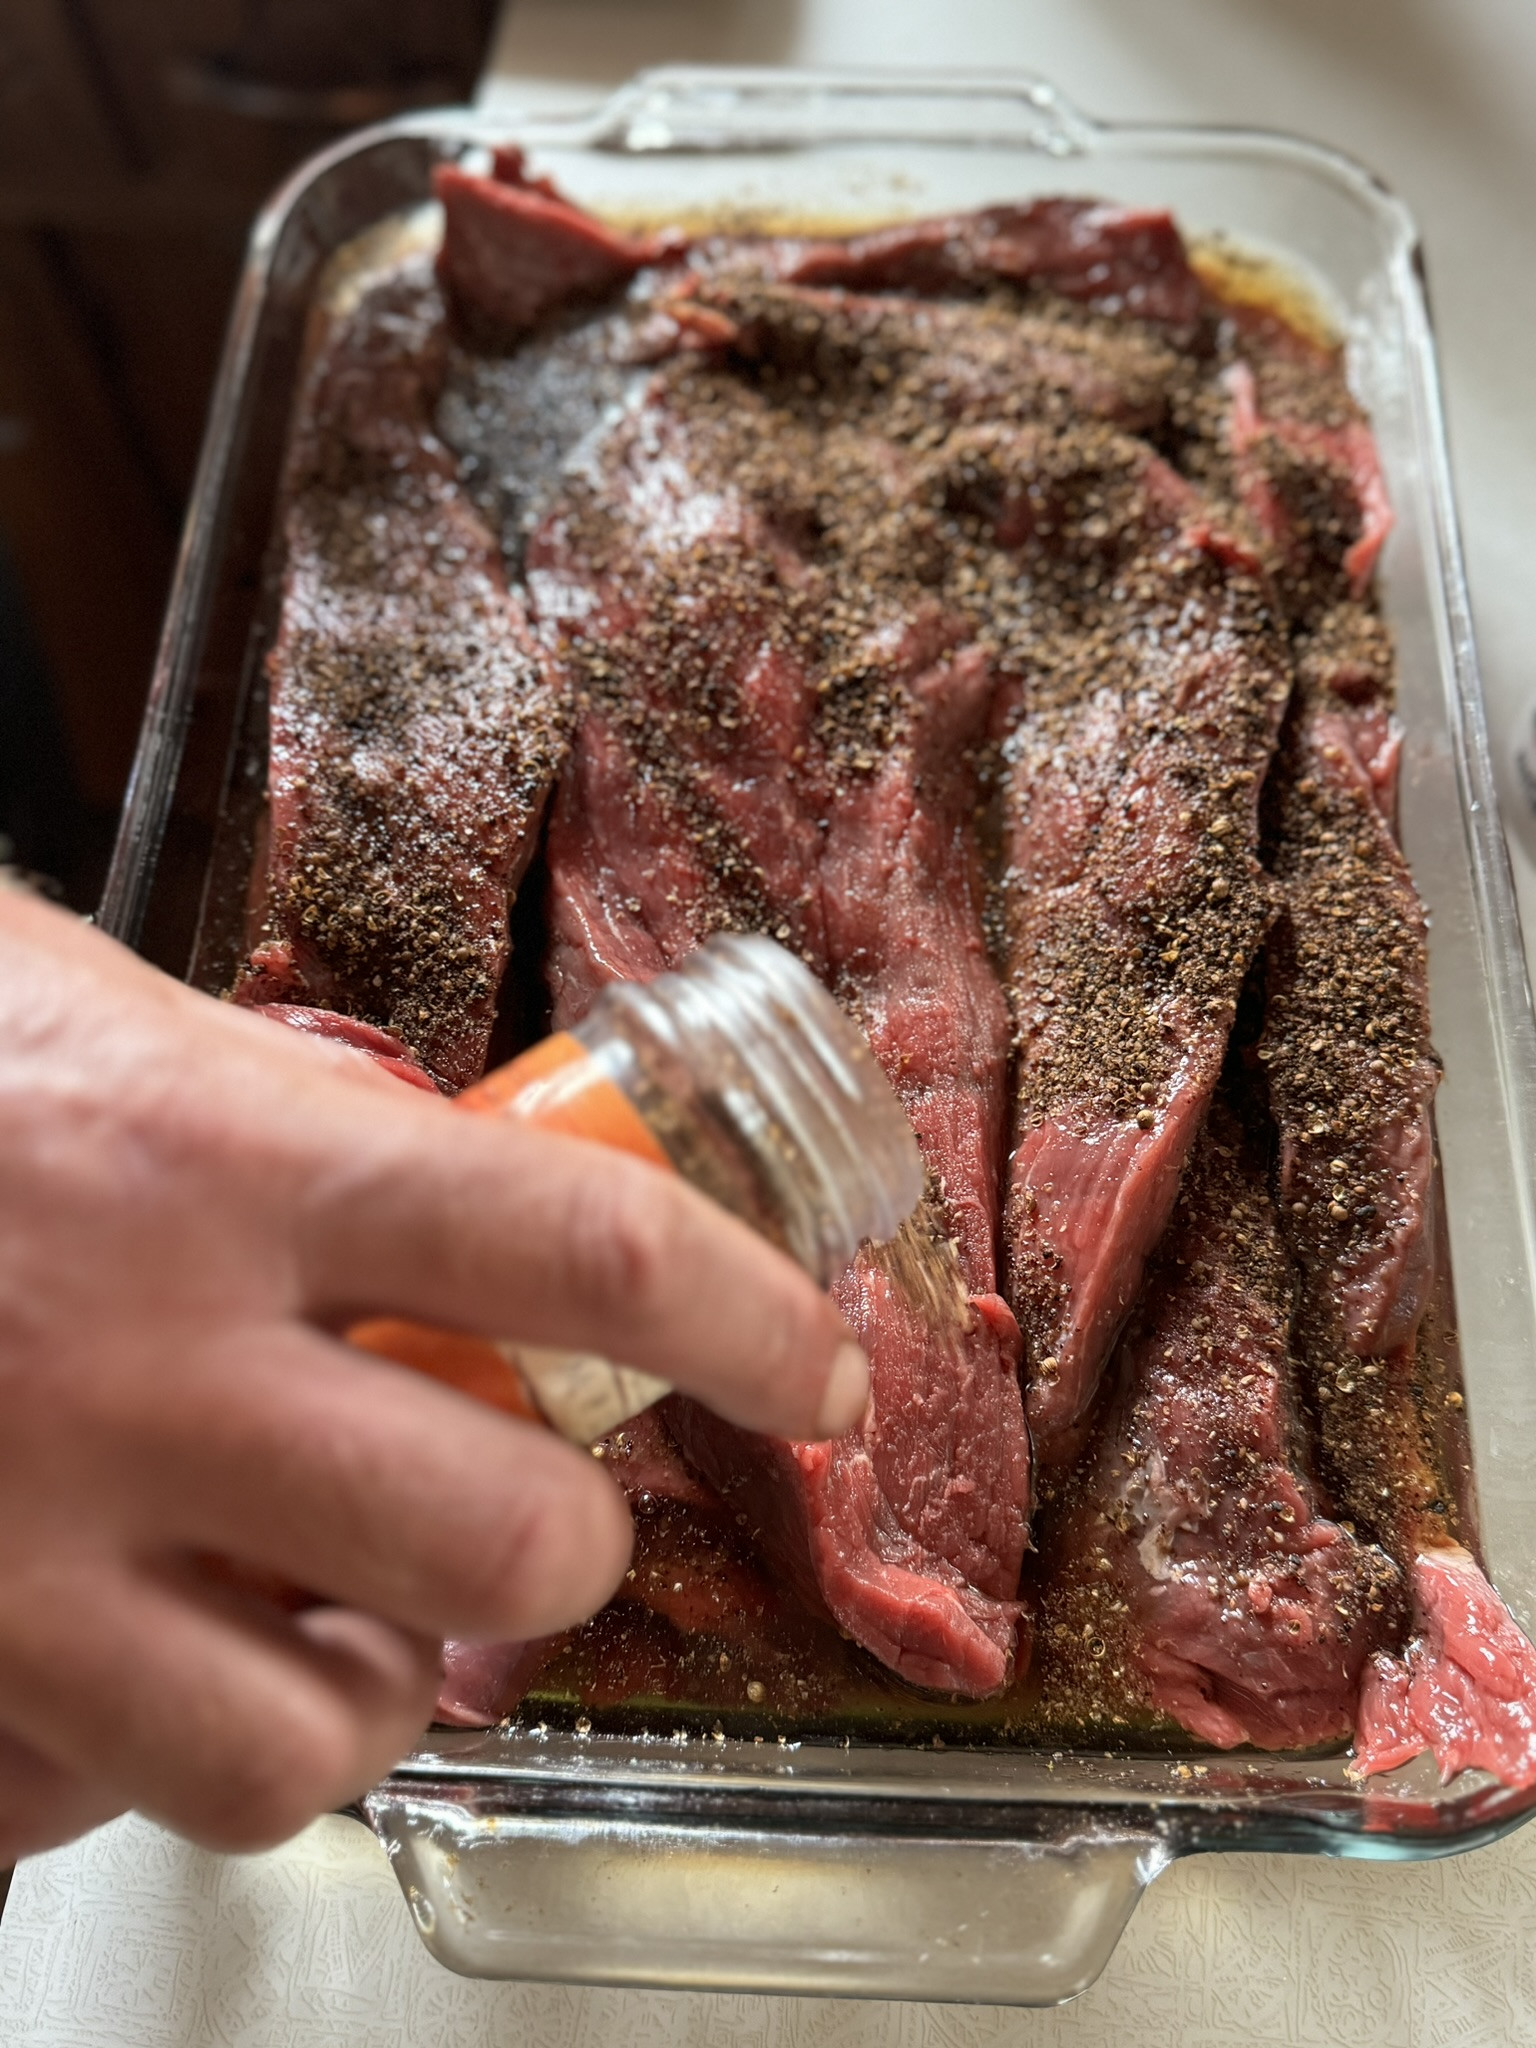
You will dip the meat slices in the vinegar and soak it for a few mins. Once meat is fully soaked, you will rub in the spice mix and heavily season the meat slices so they are completely and thoroughly covered on all sides. 
8B8D1141-8010-4253-84EF-B61169CF17C7_1_102_a.jpeg

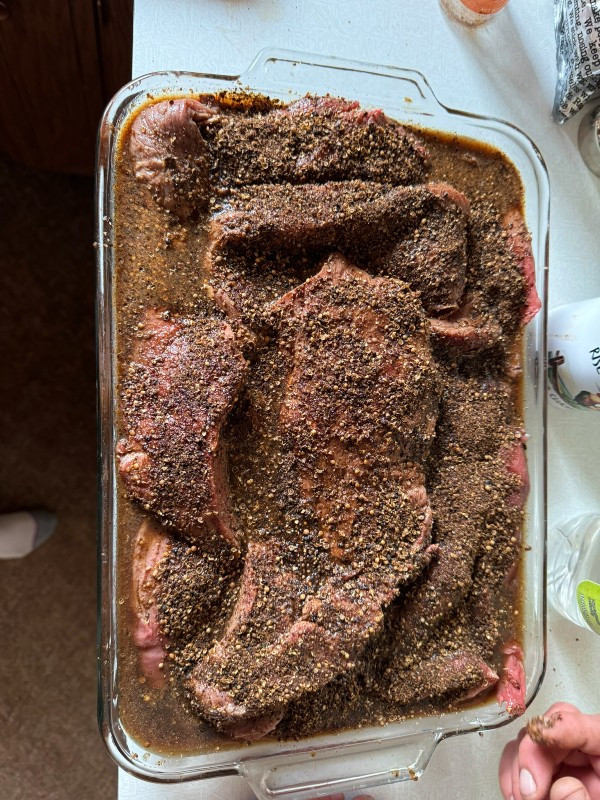
Once you're done seasoning, it should look something like this!
Biltong-2.jpg

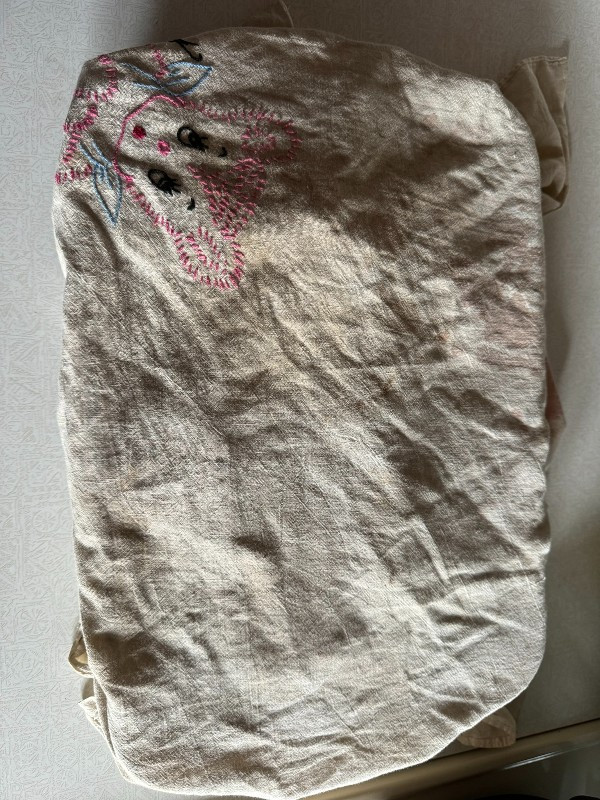
Now, you will need to cover this and let it sit for at least 12 hrs so the vinegar and spices can penetrate the meat. We covered with a dish towel.
biltong-3.jpg

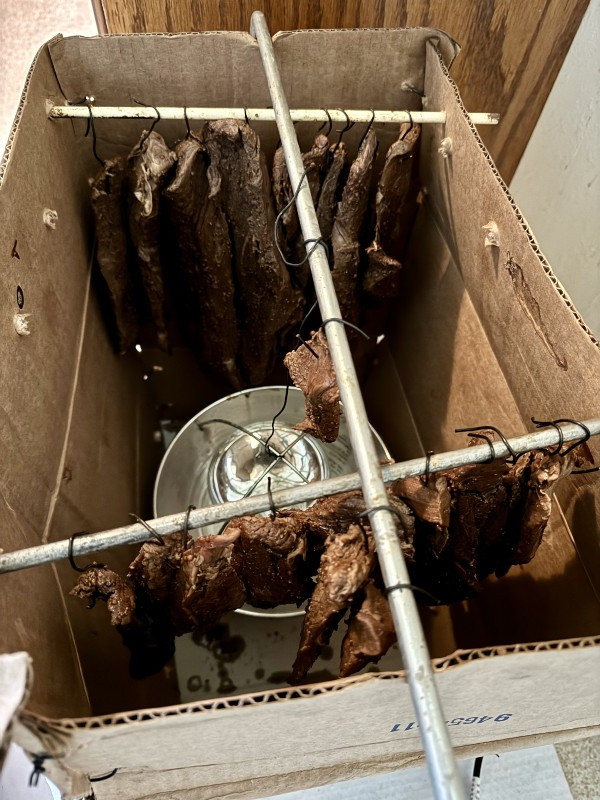
Once you've let the meat sit in the vinegar and spice brine for at least 12 hrs, it's time to let it hang. To do so, you can pull the slices out of the pan, scrape any extra vinegar or spices off and pierce with an s hook.

Once you're done hanging all of your slices, it should look something like this:

Close the lid and plug in the light. Run the fan for 2-3 days or until the biltong slices are half the size they were to begin with. 
biltong-7.jpg

Leave it like this for 2-3 days!

44C5C170-3D2D-46CA-9697-E02603D5ED90_1_102_o.jpeg

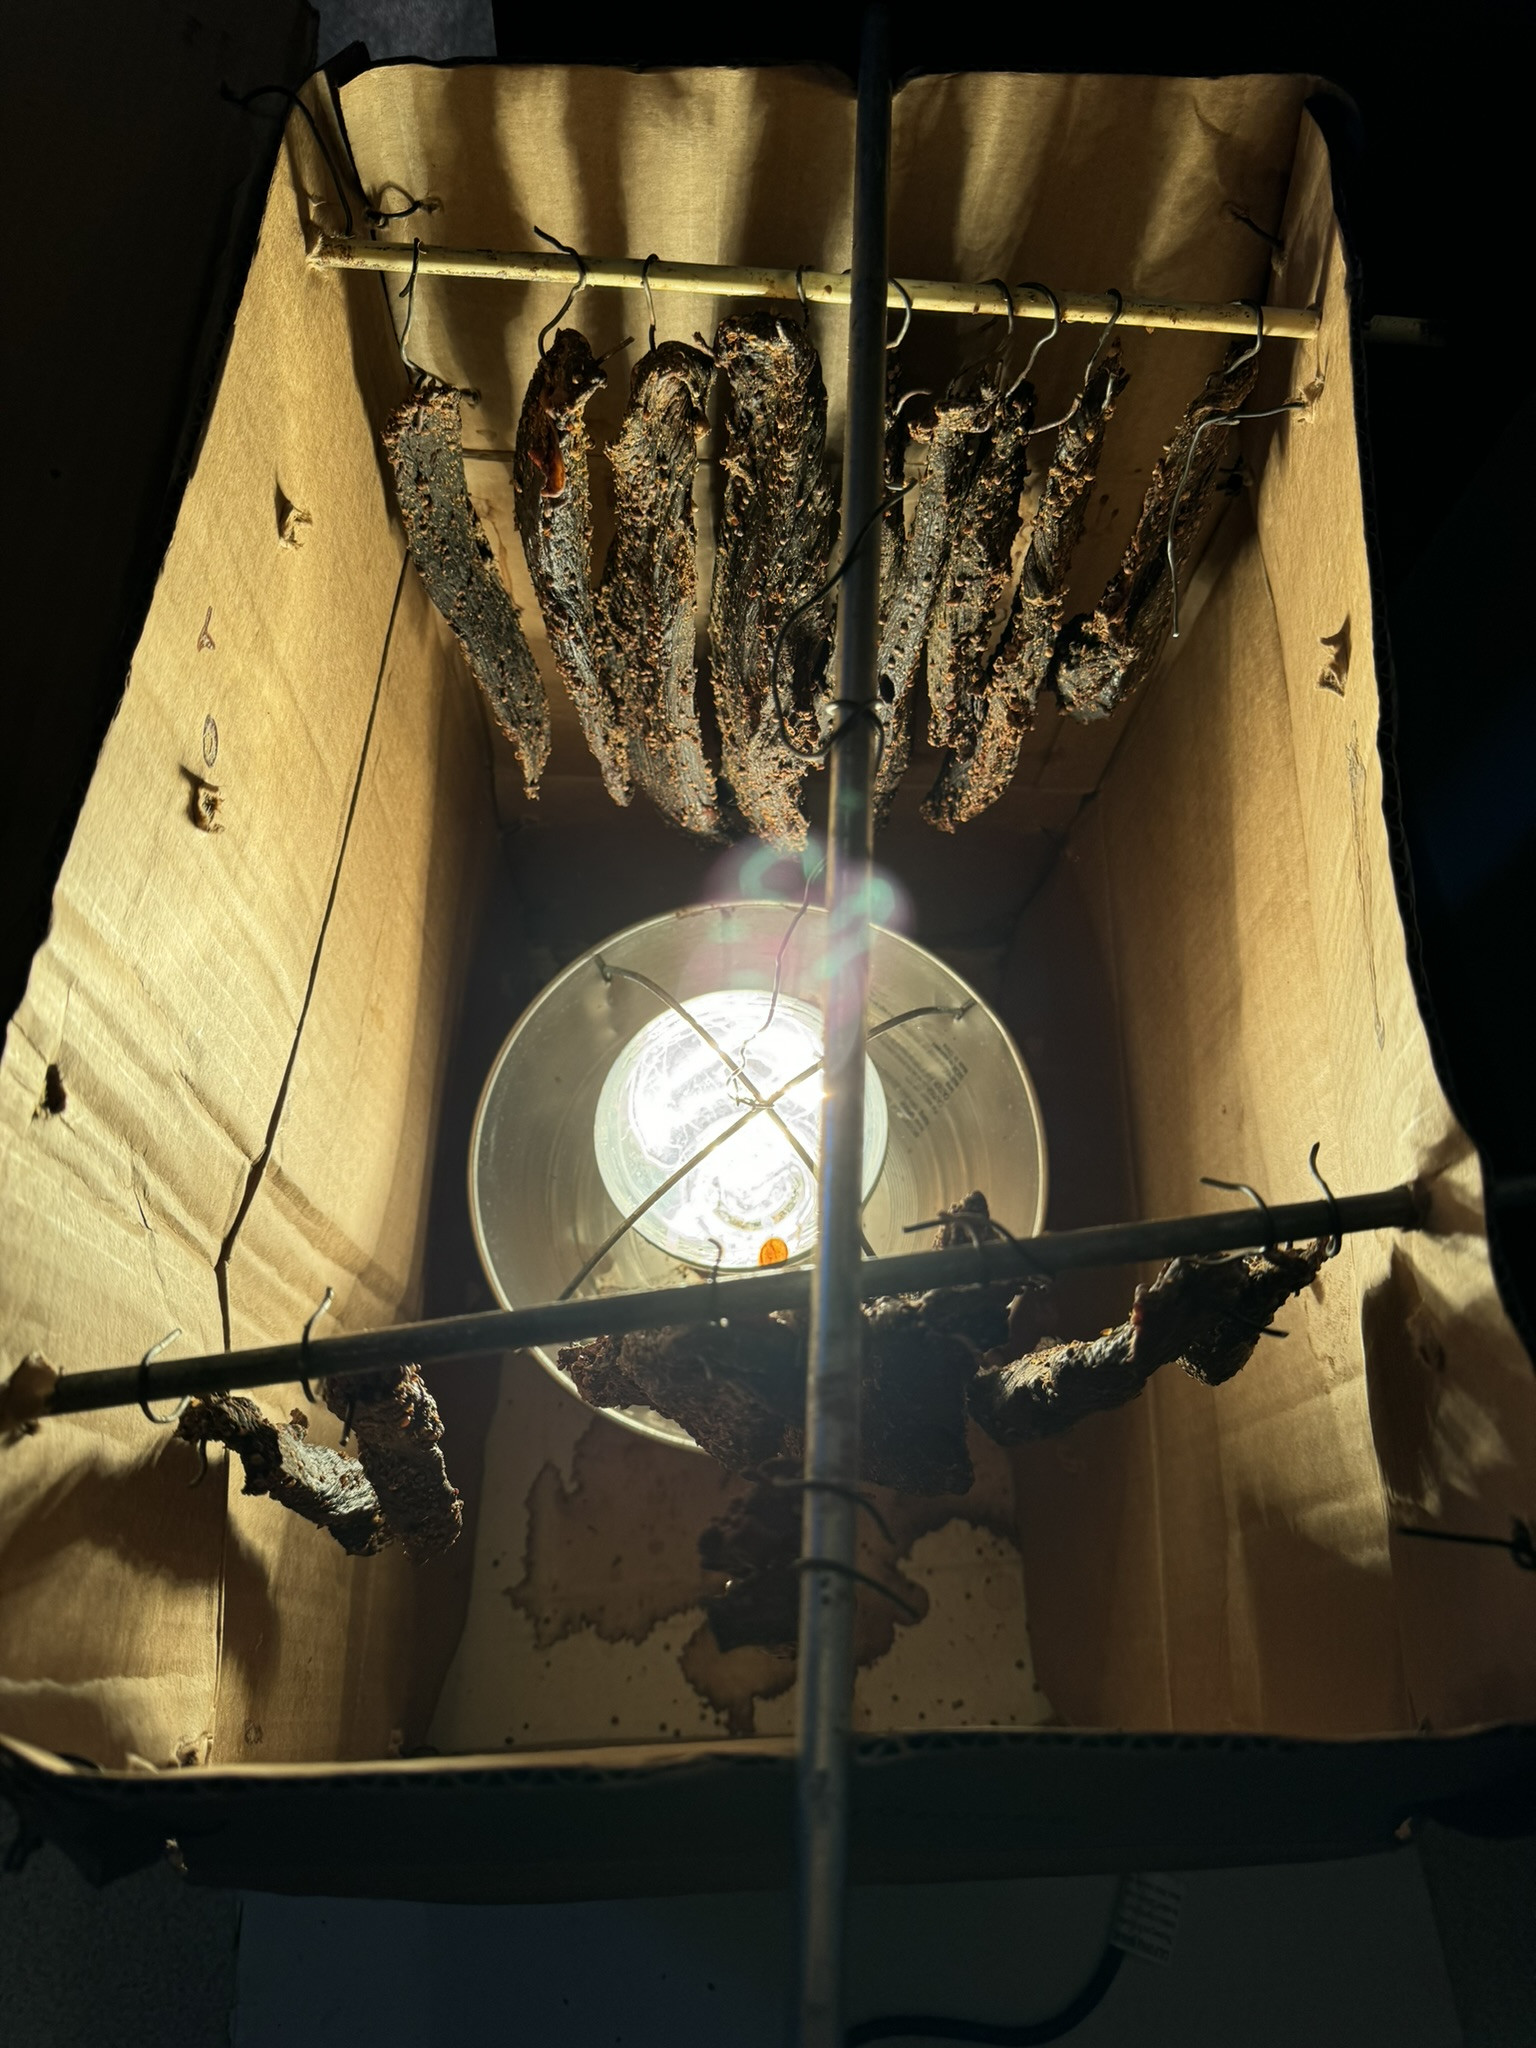
This is what the finished product should look like! The outside should be dry and the slices should be stiff.
1D9B9F0D-3A67-4472-82B0-49DF0C1A8FB2_1_102_o.jpeg

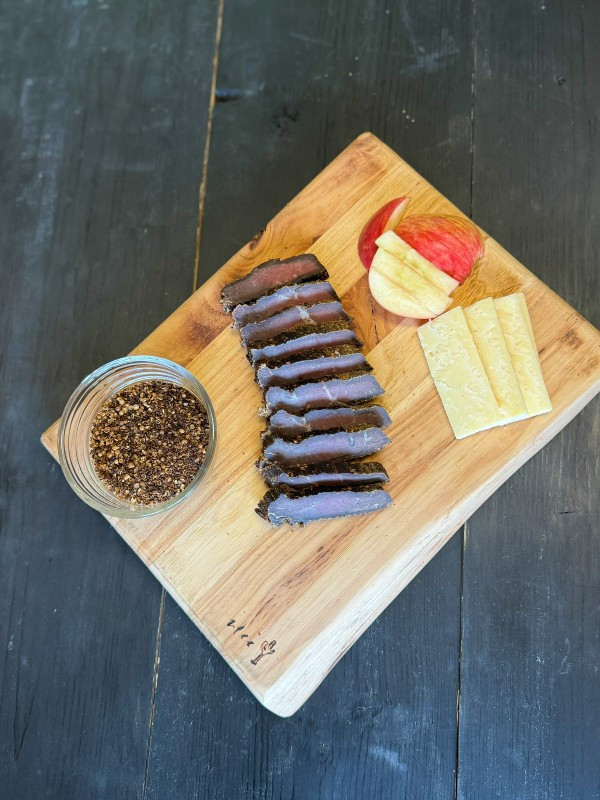
Once completed and sliced, the inside should look something like this. If you prefer the biltong a little more wet, you can dry it for a few hours less. If you prefer it a little more dry, you can dry it for a few hours more.
biltong.jpg

More from the blog

How to Grill the Perfect Steak (According to Paul) 🥩🔥

Summer is in full swing, which means grilling season is too!  If you're craving a juicy, tender steak but don't feel confident preparing it yourself; look no further! I sat down with Paul to share some of his favorite tips for grilling the perfect steak.👌 We hope these simple tips help you make the most of your next steak night! Step 1: Be PreparedPreparation is key! Make sure your steak is completely thawed (we like to thaw in a bowl of water in the sink) and preheat your grill to 350–375°F. Step 2: Generously SeasonSeason both sides generously with salt and pepper (or your favorite seasoning). Don't be afraid to handle the raw meat—it helps ensure an even coating. Step 3: GrillPlace the steak on the grill, positioning it carefully. This might actually be the most important tip. Every grill has a hot spot, and if you don't know where it is, you'll want to figure that out. If you're grilling steaks with varying thicknesses, be sure to put the thickest cuts closer to the hot spot and the thinner ones farther away. Rotate the steak ¼ turn halfway through on each side to create those classic crosshatch grill marks. (They're mostly for looks, but they sure look good!) Cooking time depends on the thickness of your steak and how hot your grill runs: Flat Irons & Flank Steaks: about 3–4 minutes per sideRibeyes & New York Strips (1¼–1½ inches thick): about 5 minutes per sideFlip the steak and repeat the ¼ turn on the second side. Step 4: Check for DonenessRather than relying solely on time, use the hand firmness test and cook to your audience's ACTUAL preferred level of doneness. (Some people say they like it medium rare but they actually want it medium well 😅). Another helpful indicator: If the juices on top are still deep red, the center is still quite rare.As the juices become clearer, the steak is getting closer to your desired doneness.  Step 5: RestRemove the steaks from the grill and let them rest for a few minutes before slicing. Step 6: ServeIf you're slicing the steak, always cut against the grain for the most tender bite. Then sit back and let everyone compliment you on your steak-grilling greatness. 🥩🔥 Steaks are one of our favorite meals because they're easy to cook, incredibly delicious, and packed with nutrients.  If you're firing up the grill this summer, we've got several of our favorite cuts included in our Summer Grilling Favorites collection.

Want to Learn More About Regeneration? Start Here.

Curious about regenerative agriculture? We've gathered a few of our favorite books, documentaries, and videos that have shaped our family's journey and do a wonderful job explaining the principles behind regenerative farming. Whether you're just getting started or want to learn more, these are great places to begin.