Make your own Bone Broth!
posted on
October 30, 2018
First, let's talk about the benefits!
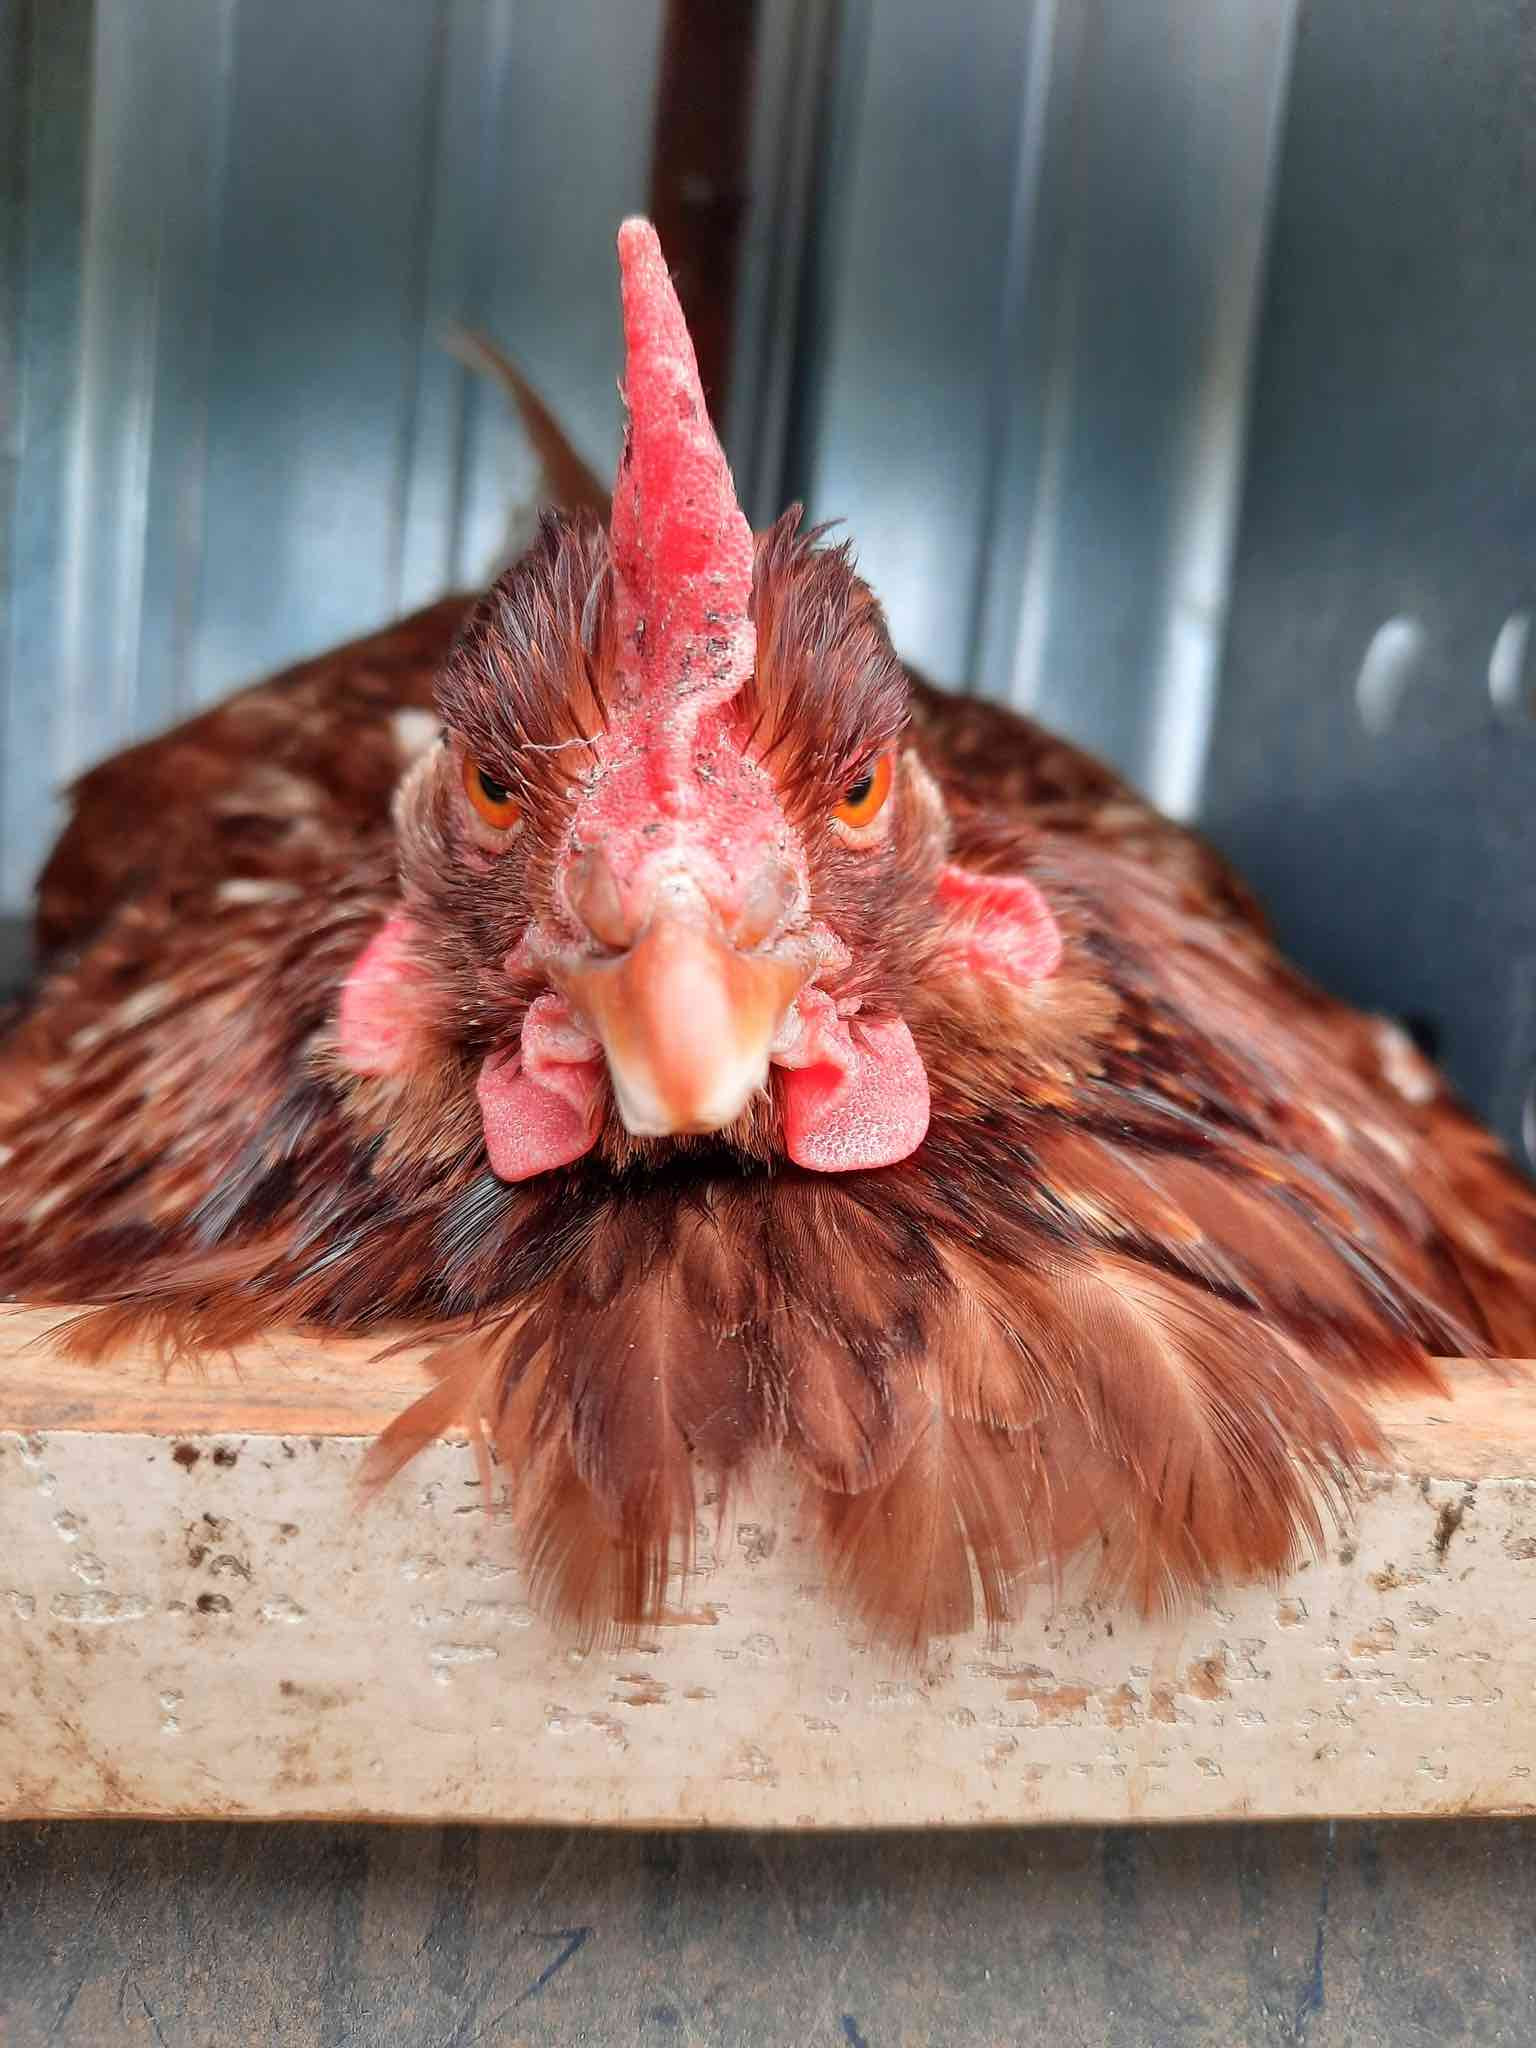
The best bone broth come from pasture-raised animals that are not only getting higher quality nutrients from their environment but are also roaming freely and therefore building the robust connective tissue required for being active animals. The high-quality collagen, amino acids and gelatin released from the bones and connective tissue while cooking have many positive effects on our health, such as strengthening hair, skin, and nails, reducing inflammation/joint pain, boosting your immune system, and improving overall gut health!
What you'll need:
- ~ 3-4 lbs of Any combination of the high quality, pasture-raised bones we have to offer
- Grass-finished Beef marrow/soup bones, neck bones, knuckle bones
- Grass-finished Lamb marrow bones
- Pastured Pork marrow/soup bones, ham hocks
- Whole pastured Chicken/chicken carcass
- Pastured Chicken feet
- Whole pasture-raised Stewing Hen
- Veggie scraps- easiest if saved up over time as to use otherwise compost material. Obviously you can also put roughly cut veggies to add nutrients and flavor to your broth
- carrot tops, tomato tops, onion and garlic skins, celery butts, etc.
- Roasting pan (if bones haven't already been cooked)
- Parchment Paper *optional but makes for easier clean-up

5. EITHER: large stock pot, crockpot/slow-cooker, OR pressure-cooker/Instant Pot personal preference is the crockpot so I don't have to leave the stovetop on all day (esp. when unattended)
6. Apple Cider Vinegar or lemon juice to put in with bones before cooking to break down proteins for better solubility
7. Large mesh strainer to strain once broth is done
8. A few large Mason jars (no larger that 6 cups as bigger ones tend to crack in the freezer). It also works well to put some in ice cube trays for convenience when you only need a small amount.
*Be sure to leave an inch of clearance between the top of the broth and the top of the jar as liquid expands in the freezer and will crack the jar if it doesn't have enough room to expand
STEP BY STEP
Now that you've got all your tools, you're ready to get cooking!
Step 1: Start with your bones. For a 2-gallon pot, we recommend using 3-4 lbs of bones. If your bones are not already cooked, you'll want to roast them in the oven at 350 for about 20 mins before they go in the pot. I like using parchment paper on the bottom of the pan to make for easier clean-up and so that it's easier to pour any juices that come out of the bones into pot.

Pictured: Beef medium marrow bones and pork soup bones
Step 2: Once the bones are roasted, they can be put into the pot. Be sure to pour all the juices in the pot as well and then fill with water up to a couple inches below the top.
Step 3: A CRITICAL step is to add apple cider vinegar or lemon juice to your bones once they're in the pot to help with the breakdown process of all the nutrients that we want! Let bones sit in vinegar water for at least 30 mins before adding veggies and turning on the heat for best results.
Step 4: Add veggie scraps. Pretty much anything you'd put in a compost bin is game for adding to your broth. You'll be straining the liquid after it's done cooking so different sized chunks are ok. If you don't have veggie scraps saved up, adding carrots (and their tops!), celery, onions, garlic will add the most flavor. Be sure to use the whole vegetable- skin and all. Add salt and pepper to taste.

Pictured: I added beet greens, celery, tomato, garlic, dried dill, swiss chard, carrots, onion, and beets. The perks of having the bounty of a garden means I have access to a lot of free veggies to put into my broth. This is by no means necessary but I definitely encourage you to make it your own and experiment.
Pro-tip: If you're looking to spice it up, you can add jalapeños and/or ginger to your bone broth!
Step 5: Once all ingredients have been added, bring your broth to a rolling boil. Then lower to a gentle simmer and partially cover the pot, leaving room for steam to escape.
Step 6: Check on your bone broth at the 6 hr mark to see how fast it's reducing (2 hr mark for the pressure cooker/Instant Pot method). The water level should have gone down about an inch. Adjust lid if too much liquid/not enough is left in the pot.
Step 7: Let bone broth simmer for up to 24 hrs. When done, your liquid level should be about 2 in below where it started. Pour broth over strainer into large bowl.

Step 8: Now you can fill your mason jars and ice cube trays. I'd recommend using a ladle. Keep jars in the freezer for later use. Don't forget to leave room at the top of the jar so it doesn't crack.


Step 9: Enjoy!